how to remove your old kitchen
Removing your old kitchen can be a liberating experience. It’s the first big step towards creating a kitchen that feels like your own.
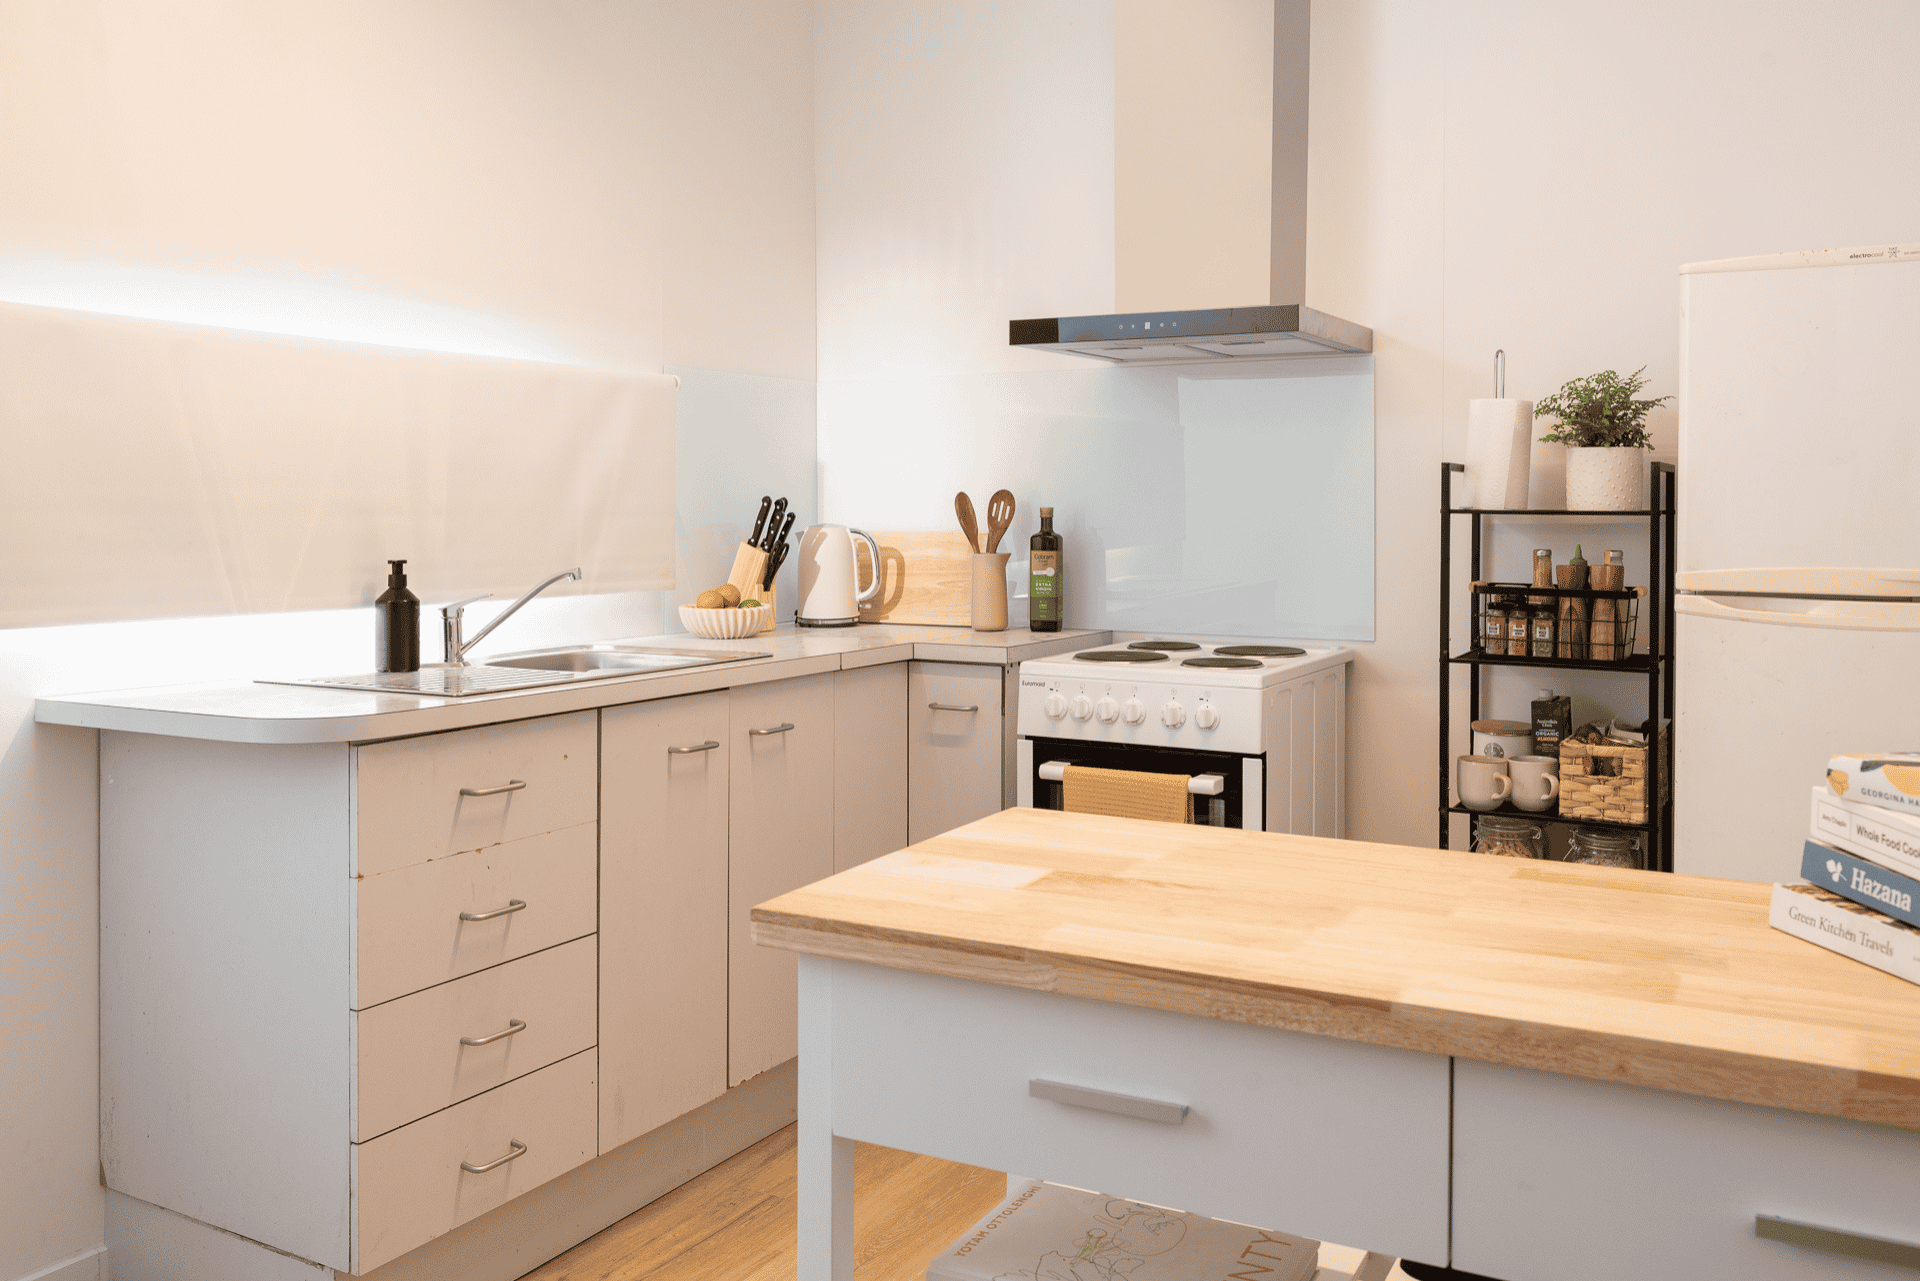
If you’re planning a DIY kitchen renovation, a little preparation before you start can make the demolition process safer, cleaner and much easier. From protecting your floors to knowing when to call in a professional, here’s what you need to know before you start removing your old kitchen.
before you start
Kitchen demolition is physical work. You’ll be handling tools, lifting heavy materials and using force, so it’s important to be comfortable with the work involved.
If there’s anything you’re unsure about, don’t try to wing it. Call in a professional.
You should also make sure you have the right personal protective equipment (PPE) before you begin. At a minimum, it’s recommended to use eye protection, ear protection and a facemask when undertaking DIY work.
Most importantly, electrical, plumbing and gas work should be left to qualified tradespeople. A qualified electrician or plumber should disconnect services and make them safe before you begin removing your kitchen.
pre-demolition checklist
Before you grab the hammer, take some time to prepare your work area.
turn off your electricity
Have a qualified electrician disconnect powerpoints and make cables safe before you start demolition.
Once this has been done, turn off the mains power to your house. Consider securing your mains box so the power cannot accidentally be switched back on while you’re working.
*always use a licensed electrician for any power related work.
turn off your water
Turn off the water supply before removing your kitchen.
This simple step can help prevent an unwanted flood if you disturb a water connection during demolition. If you’re unsure where your water supply can be turned off, contact your local council or a qualified plumber for help.
turn off your gas
If you have gas appliances, speak to a qualified professional about disconnecting them before demolition.
*gas appliances and connections should not be disconnected by someone who is not qualified to do the work.
protect your floors
Demolition can get messy.
Cover your floors with hardboard, drop cloths or another suitable protective covering before you begin. This can help protect against scratches, dents, dust and the occasional dropped tool.
remove anything you want to keep
Before demolition begins, remove artwork, handles, fixtures, fittings and anything else you want to protect.
Label and store items somewhere safe so they don’t get damaged or lost during the renovation.
seal off your work area
Where practical, seal off the kitchen from the rest of your home.
Demolition creates plenty of dust and debris. Creating a contained work zone can help stop it travelling through the rest of your house. A great product to contain work zones, is the Monarch Zip Door.
get the right tools
Having the right tools can make removing your old kitchen much easier.
Depending on your project, you may need:
drill
hammer
pry bar
scraper
circular saw
Stanley knife
voltage tester
appropriate PPE
*make sure you understand how to use your tools safely before you start.
organise your waste
Arrange your skip bin or rubbish trailer before you begin.
You don’t want old cabinetry, benchtops and building materials piling up around your work area. Having somewhere ready to put your demolition waste will help keep the site cleaner and safer.
how to remove your old kitchen
Once your space is prepared and the services have been safely disconnected, it’s time to start the demolition.
Take your time and work methodically. The goal isn’t to destroy everything as quickly as possible. It’s to remove the old kitchen while minimising damage to your home.
1. remove the sink
Start by carefully cutting through the silicone bead around the sink using a Stanley knife.
Once you have created an edge, a pry bar and hammer can help you lift the sink out.
Wooden planks can also be used to provide leverage if needed.
Take care when lifting the sink. Some sinks can be surprisingly heavy.
2. remove the benchtops and splashbacks
First, check underneath the benchtop for screws or fixings and remove them.
If the benchtop can be lifted safely, remove it with another person. If it is too heavy or awkward to handle, don’t try to lift it alone.
For larger or heavier benchtops, breaking them down into more manageable sections may be an option, depending on the material.
Splashbacks need extra care. Work slowly and carefully when removing splashbacks, trying to minimise damage to the walls.
3. remove the wall cabinets
Wall cabinets should be removed before the base cabinets where possible.
The existing base cabinets can provide a useful resting point while you work, but wall cabinets can still be heavy and awkward to handle.
At least two or more people should help with this step, unless a suitable cabinet support is used.
Locate the screws holding the cabinets together and remove these first. Then carefully remove the fixings securing the cabinets to the wall.
Lower the cabinets carefully and move them out of your work zone.
If someone else could reuse your old kitchen, label and store the parts rather than sending everything straight to the skip.
4. remove the base cabinets
Start by taking out the drawers, doors and shelves.
Again, if you’re planning to give your old kitchen a second life, keep the components together and label them as you go. Bagging the screws and labelling the cabinet parts can make reassembly much easier.
Next, remove the screws fixing the cabinets to the wall and each other.
If a cabinet is stuck, a pry bar may help loosen it. Once the cabinet is free, carefully move it out of the work area or place it straight into your skip.
5. remove your appliances
Appliances should only be disconnected by the appropriate qualified tradesperson.
Before removing an appliance, make sure the electricity, water and gas supplies have been safely disconnected.
It is recommended to plan these services before the existing kitchen is removed. A qualified electrician and plumber can disconnect the old services and later return to connect your new kitchen and appliances.
keep your demolition safe
When removing your old kitchen, take your time.
Wear your PPE, keep your work area tidy and avoid taking on tasks that require specialist skills. Kaboodle’s DIY approach is all about giving you the confidence to make your project your own, but knowing when to call in a professional is part of doing it right.
Electrical and plumbing work should always be completed by qualified tradespeople.
A well-planned demolition also makes the next stage of your renovation easier. Once the old kitchen is gone, you’ll have a clean space ready for your new design.
ready to make your new kitchen your own?
Our 3D planner lets you explore layouts, colours, benchtops and accessories before you commit to your design, helping you see how your new kitchen could come together.